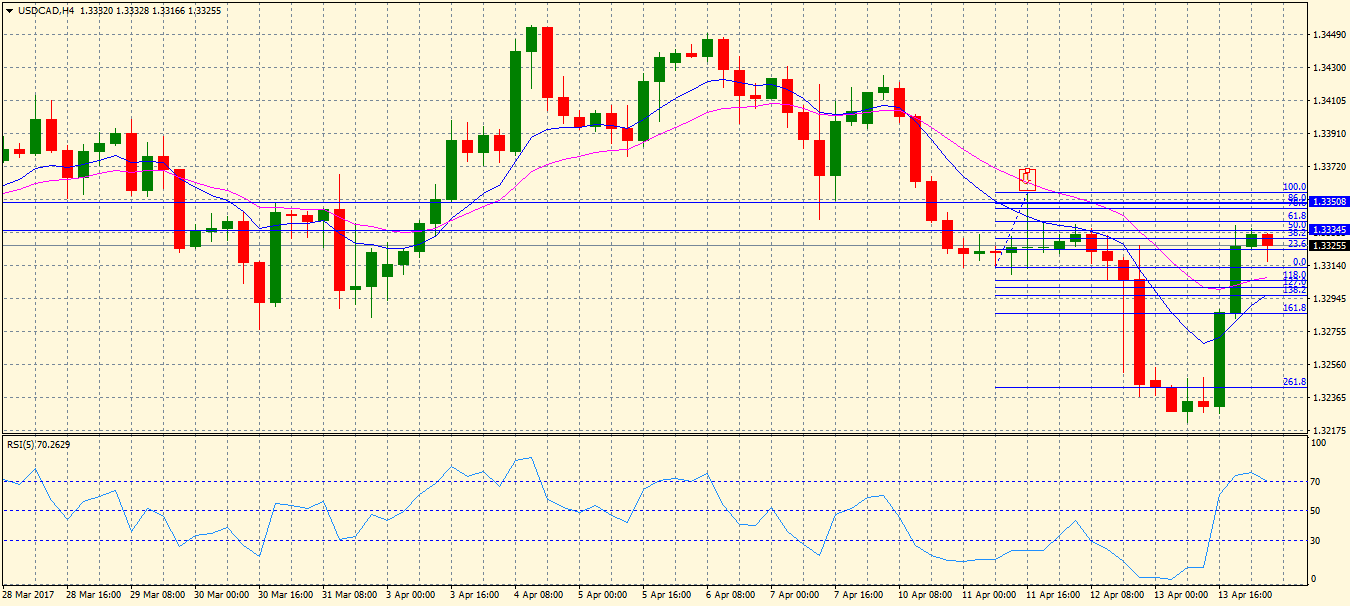
TL;DR: Pin bar trading: trade large, clean pin bars that reject levels or structure. Prefer pin bars that are larger than recent candles, occur at S/R or higher-timeframe pivots, and show a clear single-sided wick. Enter on confirmation or on a breakout/pullback variation, place SL beyond the wick or structure, target fixed R:R or nearby structural levels, and size risk to 0.5%–1% of equity. Backtest across TFs and instruments; fresh pin bars at proven levels give the best edge.

Table of Contents
1. Introduction
Pin bars (spiky reversal candles) are one of the simplest, highest-utility price-action signals when traded with structure and rules. This article consolidates community-tested pin-bar techniques into a single, operational system: how to pick quality pin bars, exact entry variants, SL/TP placement, risk rules, and validation steps.
2. Strategy overview
- Instruments: FX majors, index futures, large-cap stocks — instruments with clear S/R and reliable candlestick behavior.
- Timeframes: H4 / D1 for level identification and higher-probability setups; M15–H1 for execution depending on style.
- Core idea: trade large, structured pin bars that reject significant levels (S/R, daily/weekly pivots, block zones). Favor “fresh” pin bars (not repeatedly tested).
Download Target Indicator and apply the settings in this strategy to reproduce the signals.
3. Setup
- Identify higher-timeframe structure: daily/weekly S/R, swing highs/lows, and trend direction.
- Look for pin bars that:
- have a long single-sided wick (ideally > the range of the last 2–3 candles),
- close in the upper or lower third of the candle body (clear rejection),
- occur at a meaningful level (S/R, pivot, prior swing) or after a clear exhaustion tail.
- Use H4/D1 to filter trades and M15–H1 for precise entries.
4. Trading rules
4.1 Filter / Bias
- Prefer trades that align with the higher-timeframe structure: long pin bars at major support in an up-structure; short pin bars at resistance in down-structure.
- If the higher timeframe is mixed, only take the strongest pin bars (large wick + level confluence).
4.2 Signal (pin-bar quality checklist)
- Wick length ≥ average of the last 3 candles (shows decisive rejection).
- Candle body small relative to wick — clear rejection, not indecision.
- The pin occurs at or near a structural level or after an impulsive move.
- Avoid pin bars inside heavy chop or where spread/latency is large.
4.3 Entry (three practical variants)
- Conservative (confirmation): enter on the close of the next candle in the pin’s direction (reduces false signals).
- Aggressive (breakout): place an order beyond the pin high (for longs) / below pin low (for shorts) to catch momentum breakout.
- Pullback entry: if price pulls back to the pin’s body or 50% of the pin range and rejects again, enter on that secondary rejection for a tighter SL.
4.4 Stop-loss
- Default SL: a few ticks/pips beyond the pin wick extreme (or beyond the higher-timeframe swing if pin sits at a wider level).
- If SL would exceed your risk budget, skip the trade—never increase size to justify a bad SL.
4.5 Take-profit & Trade Management
- Simple plan: partial close at 1:1, move SL to breakeven, trail remainder to 1:2+ or next structural level.
- Structural plan: target the next S/R pivot or the opposite side of the range.
- If momentum continues strongly after first target, use an ATR or swing-based trailing stop.
4.6 Invalidation
- Invalidate if price closes decisively through the pin wick and closes beyond the SL area without a valid retest; if spread or volatility explodes (news), cancel or exit.
5. Position sizing & Risk Management
- Risk per trade: 0.5%–1% of account equity. Position size = risk / SL distance.
- Cap active pin-bar trades (e.g., max 2 concurrent). Stop trading after a preset daily drawdown or X consecutive losers.
6. Backtest & Validation
- Backtest on H4/D1 to identify whether pin-bar setups at chosen levels historically produced good R:R and win rates.
- Forward-test on small size for at least several hundred signals across instruments. Log: entry, SL, TP, reason, session, and outcome. Evaluate expectancy and max drawdown.
7. When NOT to trade
- Avoid pin-bar trades during major economic releases / spikes in spread.
- Skip when market is highly choppy and levels are irrelevant.
- Do not trade small/ambiguous pin candles or those that form inside multi-day congestion without structure.
8. Variations & Optimizations
- Multi-timeframe confirmation: require pin on H4 plus confirming price action on D1 for swing trades.
- Pin + support confluence: add a moving average band (e.g., EMA50) or order-block as additional confirmation.
- EA-friendly mechanical version: define wick/body ratios and level offsets so pins can be scanned and filtered mechanically.
9. Pre-trade checklist
- Higher-timeframe level/structure mapped (H4/D1).
- Pin-bar quality checklist satisfied (wick length, body, location).
- Entry variant chosen (confirmation/pullback/breakout).
- SL, position size and TP plan calculated (risk ≤ 1%).
- No imminent news and spreads acceptable.
10. Conclusion
A disciplined pin-bar system focuses on quality over quantity: large, well-located pin bars at meaningful levels offer a repeatable edge when combined with strict SL/TP rules and conservative position sizing. Backtest, forward-test, and stick to the pre-trade checklist to avoid discretionary slip.
11. FAQ
Q: How long is a pin-bar signal valid?
A: Depends on timeframe — a daily pin can be valid for several days; intraday pins often require faster decisioning. Use context and backtesting to define validity windows.
Q: Can small pin bars be traded?
A: Small pins inside noise or without level confluence are lower probability; prefer larger, structurally relevant pins.

