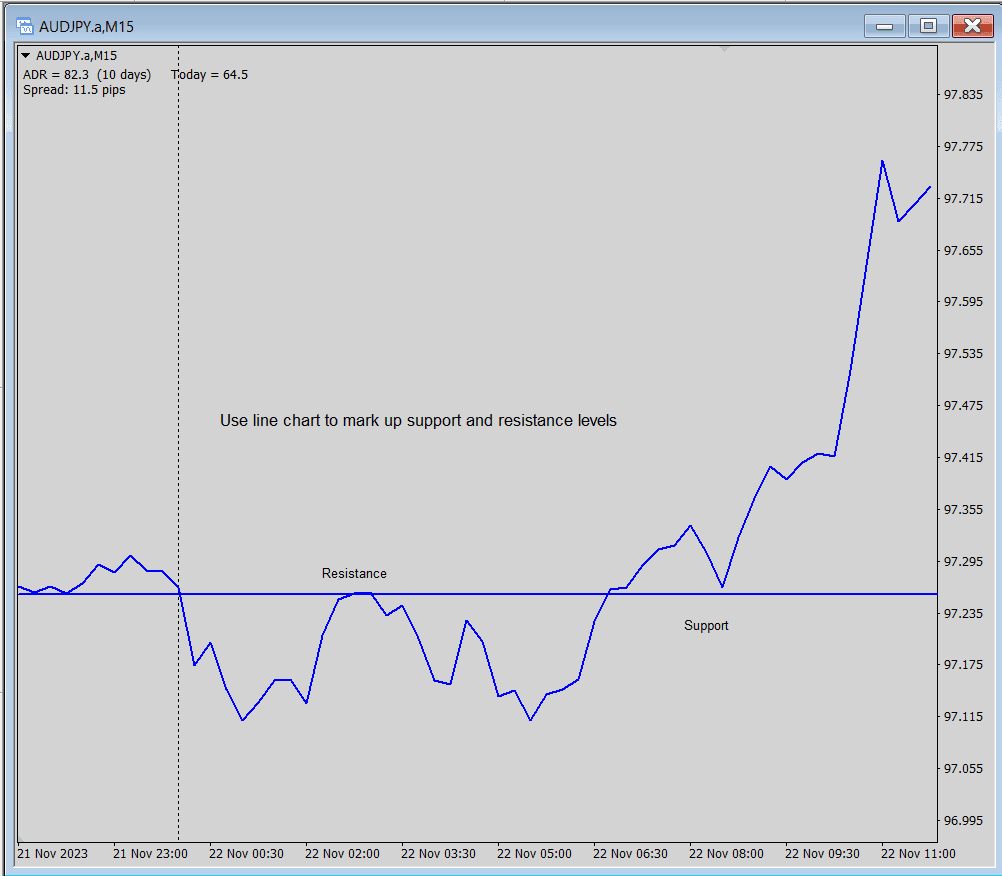
TL;DR: Trade with price action only — no oscillators or moving averages. The core sequence is Last Validated Swing → Pullback → Rejection Candle → Timing (session opens / high-liquidity windows). Enter on a clear rejection candle after a pullback to a validated swing; place SL beyond the swing or rejection wick and manage TP by fixed RR or scale-out. This system emphasizes structure, timing, and tight risk control.

Table of Contents
1. Introduction
This is a disciplined, no-indicator price-action approach that focuses on market structure (validated swings), disciplined pullback entries, and high-quality rejection candle triggers — especially around session openings and high-liquidity windows. The method is intentionally indicator-free to keep entries clear and avoid conflicting signals.
2. Strategy overview
- Instrument: Major FX pairs and liquid indices.
- Primary timeframes: H4 / H1 to define validated swings; M5 / M15 or M1 for entries.
- Session focus: Session opens and high-liquidity windows (e.g., London, New York).
- Core idea: Identify the last validated swing, wait for a pullback toward that structure, then trade a clear rejection candle (pin, engulfing, or strong body rejection) with strict SL/TP rules.
Download Target Indicator and apply the settings in this strategy to reproduce the signals.
3. Setup
- On H4/H1 mark Last Validated Swing levels (recent swing highs/lows that price respected).
- On lower TF (M5/M15 or M1 for scalps) watch for pullbacks into those swing zones.
- No indicators required; optionally display tick/volume if available for extra confirmation.
- Define the trading window (e.g., first 1–2 hours after session open) according to your broker/server time.
4. Trading rules
4.1 Filter / Bias
- Use higher-timeframe structure: only take Longs when higher TF is bullish (higher highs / higher lows) and Shorts when bearish. If structure is unclear, trade with reduced risk or skip.
4.2 Signal
- Signal = rejection candle on the entry TF after a pullback to the validated swing or key structure (examples: pin bar, wick rejection, bullish/bearish engulfing). The rejection must be clear — ignore weak bodies or ambiguous wicks.
4.3 Entry
- Enter on close confirmation of the rejection candle (market entry) or place a pending order a few ticks beyond the rejection wick (breakout entry). For very fast TFs use a small buffer to avoid noise.
4.4 Stop-loss
- SL placed beyond the rejection wick or just beyond the last validated swing (whichever is wider). Size SL so it avoids normal noise but still fits your risk percentage. If SL becomes too large for your risk budget, skip the trade.
4.5 Take-profit & Trade Management
- Options: fixed R:R (e.g., take partial at 1:1, trail to 1:2+), or scale-out (partial at first target, let remainder run). Many traders prefer a conservative initial TP and trail remaining position for extended moves.
4.6 Invalidation
- Invalidate the setup if price breaks the validated swing decisively without retest, if a major news event appears, or if execution/spread conditions are poor. Do not average into a violated structure.
5. Position sizing & Risk Management
- Risk per trade: 0.5%–1% of account equity (adjust for instrument volatility).
- Calculate position size from SL distance so that SL * position = chosen % of equity.
- Enforce session/daily caps: stop trading after X consecutive losses (commonly 2–3) or if daily drawdown limit is reached.
6. Backtest & Validation
- Backtest manually on H1/H4 to identify swing behavior, then forward-test on lower TF (M5/M15) for at least 1–3 months of live or simulated data.
- Track metrics: number of trades, win rate, average R:R, expectancy, and max drawdown. Keep rules simple to avoid overfitting.
7. When NOT to trade
- Avoid trading during high-impact economic releases or when liquidity is thin.
- Skip trades when the swing is not clearly validated or when price slices through levels without meaningful rejection.
- Pause trading if broker spreads widen or execution latency appears.
8. Variations & Optimizations
- Timing filter: prefer certain session opens for best ignition (e.g., London, New York).
- Confirmation: require a tick/volume spike on the rejection candle for stronger signals.
- Higher TF alignment: require H4 trend alignment for higher conviction. Validate each tweak before applying live.
9. Pre-trade checklist
- Last Validated Swing marked on H4/H1.
- Pullback into swing zone observed on lower TF.
- Clear rejection candle closed on entry TF.
- SL and position size calculated (risk ≤ chosen %).
- No high-impact news and spreads acceptable.
10. Conclusion
The No-Indicator Price-Action System is a structural, discipline-driven method that removes indicator noise and focuses on swing structure and timing. Start with careful demo/backtesting, keep risk small, and scale only after you confirm consistent positive expectancy.
11. FAQ
Q: Is this system suitable for all instruments?
A: It works best on instruments with clear swings and adequate liquidity (major FX pairs, liquid indices). Backtest per instrument.
Q: How to define a ‘validated swing’?
A: A validated swing is a swing high/low that price respected or retested on higher TF (H4/H1). Use backtesting and discretion to set precise validation rules.

